接上篇工程编译和构建,本文记录如何使用STM32CubeIDE的在线调试功能,以及调试过程中相关的工具使用。
调试配置
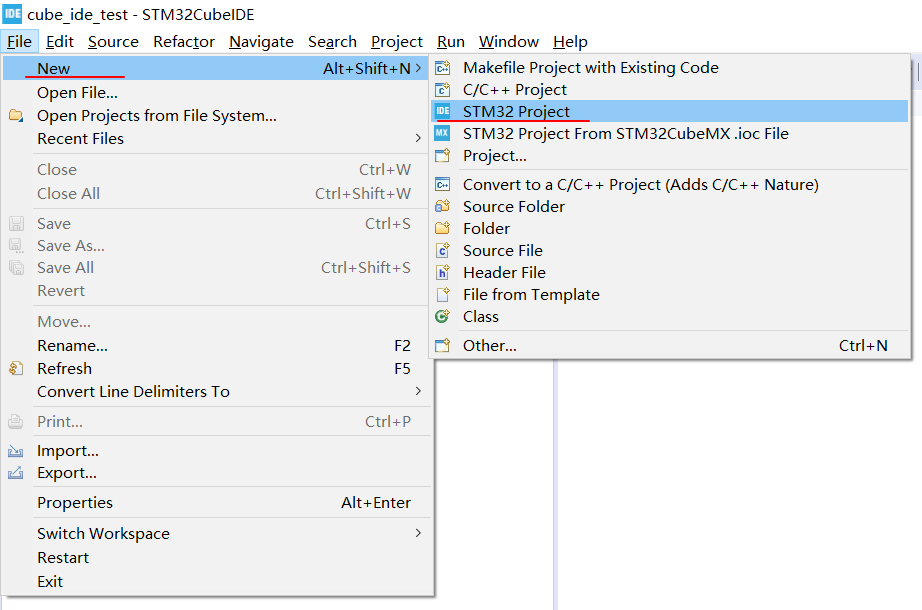
- 点击debug配置工具,选择Debug Configuration

- 新建调试,STM32 Cortex-M C/C++ Application

- 调试配置文件路径

- 配置调试器

在线调试
- 点击Debug就可以开始调试了,此时,程序进入main函数,并且会停在入口的init函数
HAL_Init()
调试工具
- 在调试过程中,有非常多的工具可以使用,为我们调试程序带来便捷,并且在出现异常退出或者段错误时,调试窗口可以给出出错前调用的函数,非常实用的功能